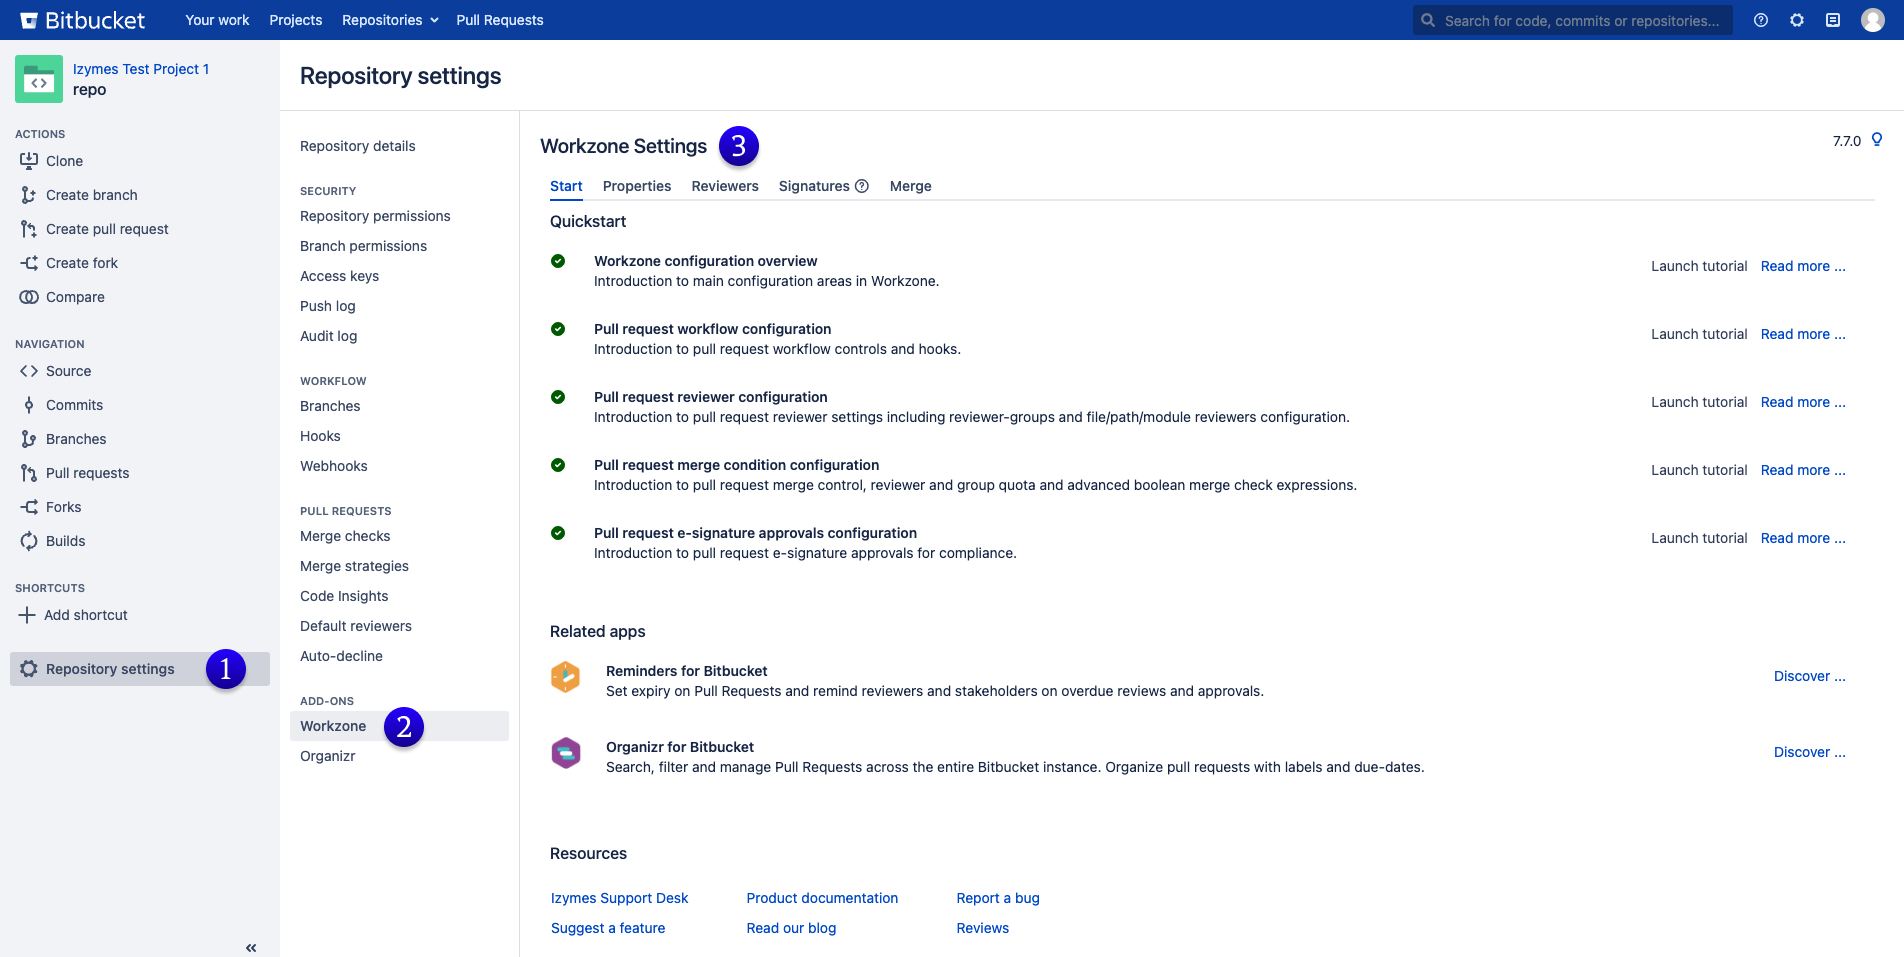
Navigate to Workzone Settings #

- Click on the “Settings” button in your repository or project.
- Scroll down to the “Add-Ons” section and click on “Workzone”
- You have arrived at Workzone Settings, where you can make adjustments and continue with setting up Workzone.
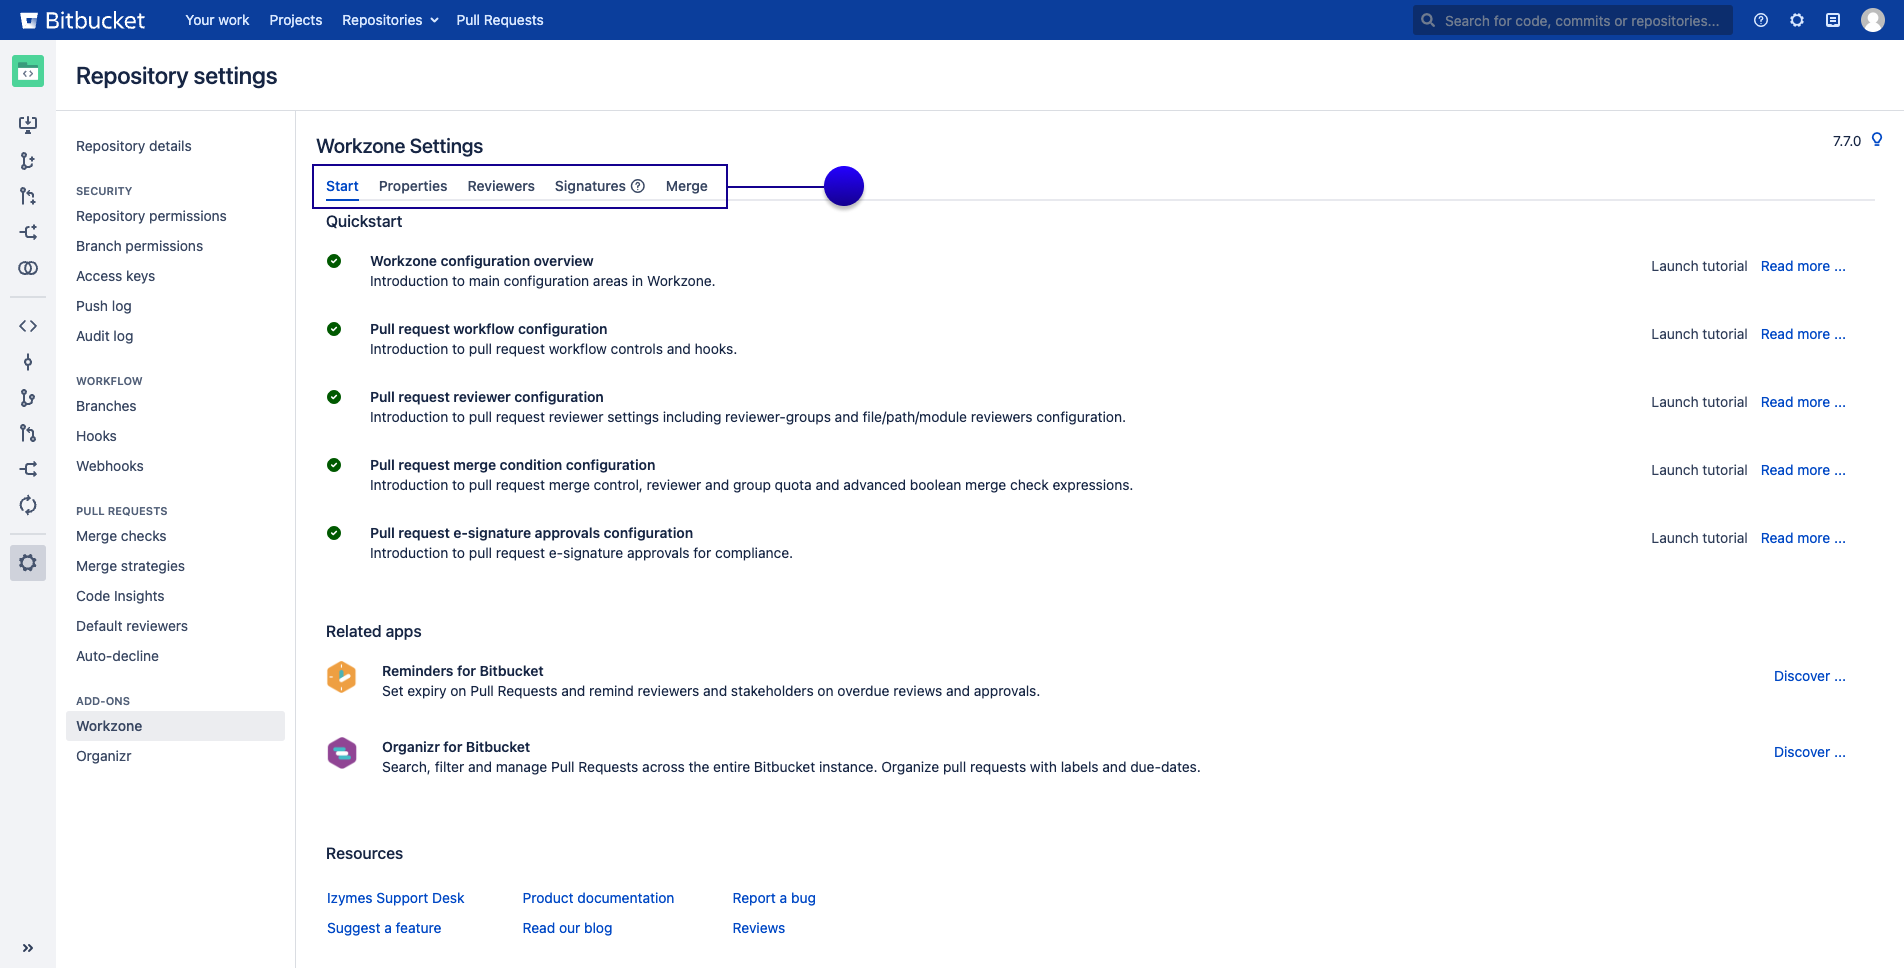
Workzone Settings Tabs #

- Start: Follow a quick start guide to set up and configure Workzone.
- Properties: Control Bitbucket Pull Request Workflow properties.
- Reviewers: Add Reviewers to a Pull Request’s target branch automatically.
- Approvals: Pull Request Approvals with Digital Signatures for branches.
- Merge: Control how a Pull Request is merged after all approvals are completed.
QuickStart Guide #
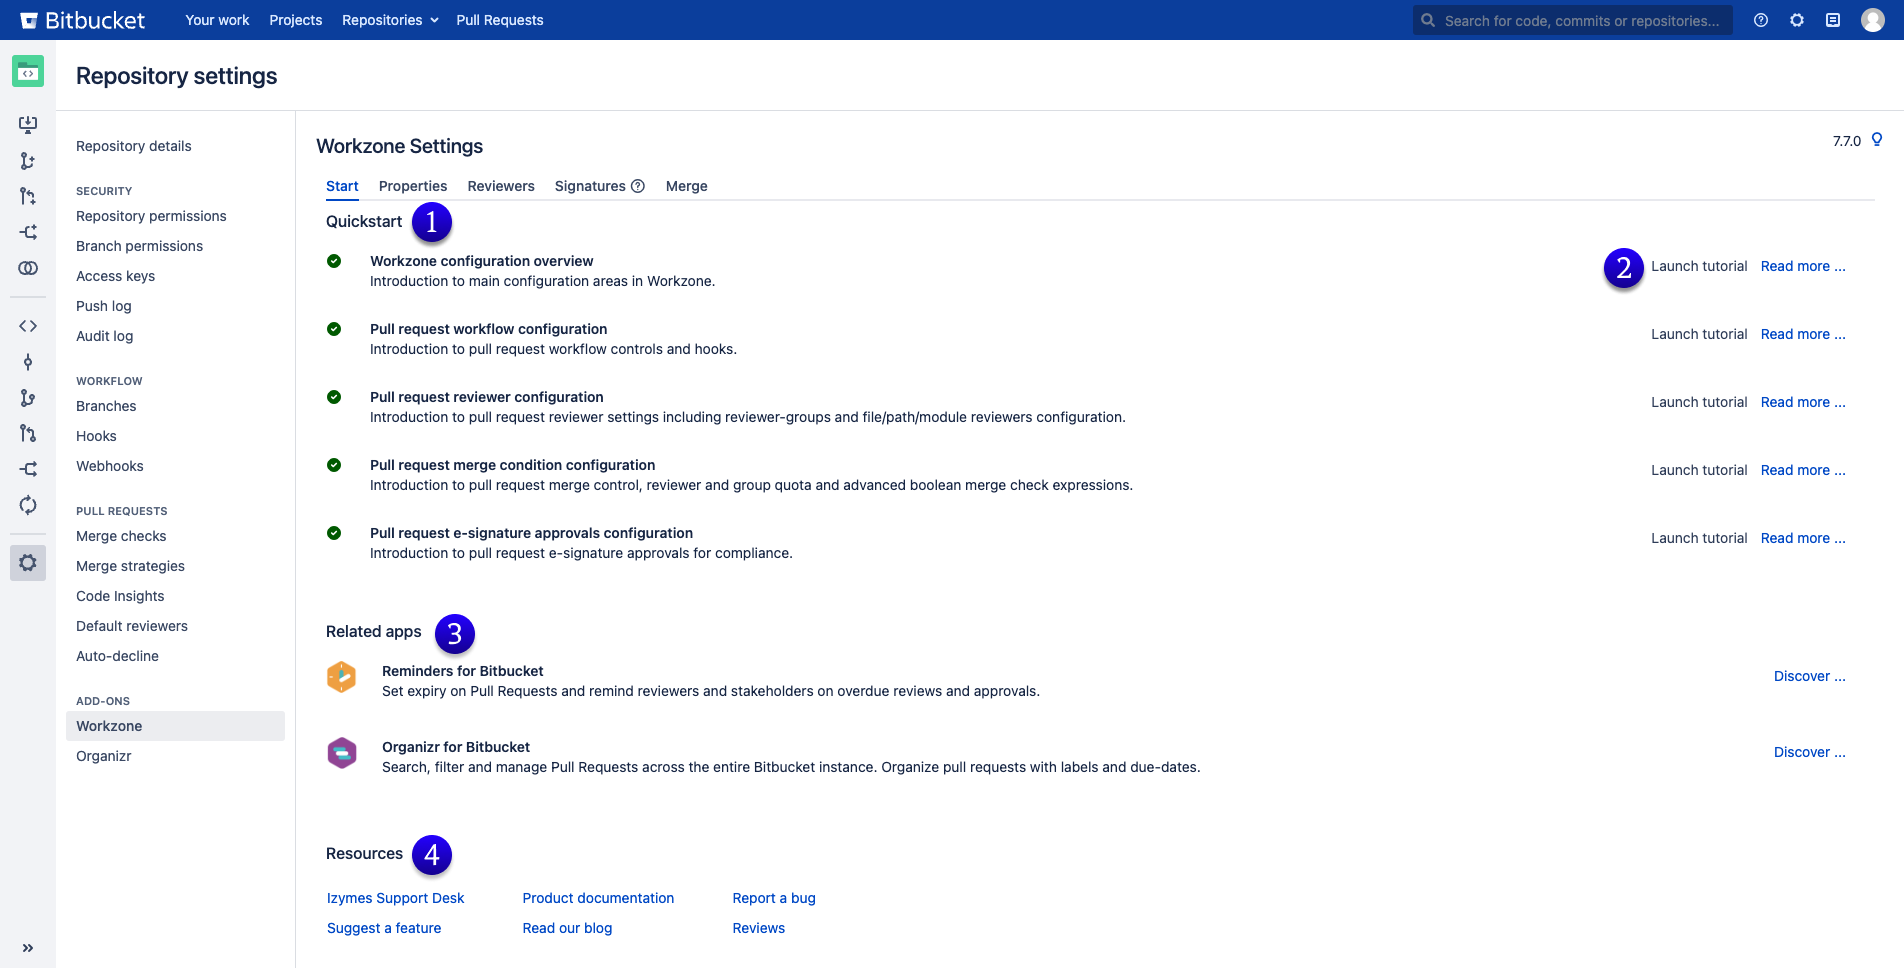
The QuickStart guide is there to help you familiarise yourself with the various Workzone features. This Quickstart guide is found within the project and repository settings, in the Workzone Add-On

- The quick start guide will walk you through all the features and functionality of Workzone.
- Revisit the individual walkthrough tutorials by clicking “Launch tutorial”, or visit the documentation space through the “Read more…” option.
- Learn more about our other Bitbucket apps.
- Access additional resources relating to Workzone.
Workzone Global Settings #

- Open Administration settings.
- Under “Add-Ons” in the left-hand menu, click on “Workzone”.
- Here you can change the global configuration for Performance and Pull Requests.

